How to Design Maps for a Sandbox Campaign Part II - Region Maps
This article is the second on How to Design Maps for Sandbox Campaigns.
I highly recommend starting from the beginning by reading:
How to Design Maps for a Sandbox Campaign Part I - World Maps
However, this article will encompass everything needed to create a Region Map.
While World Map is the most helpful tool for the DM to design their overarching sandbox campaign, Region Maps is one of the most valuable tools for the player to experience your story in your Sandbox Campaigns. Regional Maps entice the players to go to different plot hooks and be intrigued by what the region offers. For the DM, it's also a valuable tool for planning your quests and having a player progression that does not go out of hand with too many choices for your players but also provides the freedom to explore your sandbox campaign organically.
We will delve deep into how to create, design, and run your Region Maps. We will explore the tools and step-by-step instructions on how I create Region Maps.
Tools we will be using in designing Region Maps:
I'll be using a couple of tools for each of the steps:
Region Maps - Inkarnate + Greenshot (Windows Free / Mac -1.99$)
How I use these tools will be found next to each step and will provide some approaches that could suit you personally or if you want to tag along in this journey.
2. Region Maps
Region Maps are the most crucial map type for your DnD players because it is not as Big Picture as the World Map but not too small as well. It strikes the perfect balance in scale when it comes to showing your players what could be explored, gives hints to the dungeon master's plot hooks, and helps your players to have a self-reliant motivation to explore your stories.
Before we create a Regional map, I must explain a couple of design approaches I'll take when designing these maps. 2.1 Cell approach, 2.2 Chokepoints, and 2.3 Invisible Borders concepts help you as the DM structure your sandbox quest design, provide a cohesive story, and provide an invisible guiding hand to your players without railroading them. Let's begin!
2.1 Design-Cell Approach for Designing Sandbox Campaign Plots
One of the elements I figured out was the Cell approach when designing sandbox maps & quests. This approach is essential for Region Maps because hubs, quests, and encounters should be the driving force when designing a Region Map. This region map should gently lead the players into the main story through quests and encounters that are somehow connected.
But what is a Cell when it comes to Region Maps?
Locations (Anything that does not require a battle map)
Encounters (Main instances)
Hubs (Villages/Towns/Cities)
Dungeons (Combination of all encounter types in one place)
2.1.1 Design-Cell Approach - Quests
When designing a region, I remember that every region should have up to 3-5 towns, each with 1-3 quests assigned to them. These quests should influence the appearance of your region map.
2.2 Design - Choke Points

To create choke points I added mountains, rivers, swamps, and each of the quest/dungeon locations will act as a soft border if they are not dealt with.
Now, when you think about the initial idea of 5 towns with up to three quests available, you would think that quite an unbelievable amount of quests to prep for. But that's what Choke Points are there for. Chokepoints such as mountain ranges, quests, encounters while traveling, or reasons why players should stay in one place before going to the next one are safeguards for them not to wander off to another place for which you haven't prepared as a DM.
2.3 Design - Invisible Borders (Kinda)

For example everything that’s going outside of this region I tend to leave the details out.
Unlike video games, where you hit an invisible wall, invisible borders design focuses on nothing but the region at hand and anchors the players to a place rather than giving an overwhelming choice of freedom by showing the story through a World Map lens. Whenever the region map is used to show where they are and what other things can be done in the region map, it will entice the players to try and complete the rest of the quests instead of wandering off aimlessly.
2.3 Content of Regional Maps
With all the design philosophies mentioned, let's start making a region map and delve into important aspects of the region map.
2.3.1 - Quests
As mentioned before, Quests should be the driving force for your region map design. Try to have at least a couple of quests (At least in idea form) before you start detailing your region map.
2.3.2 - Factions
Any factions from different quests should have some visual representation on the region map. This representation could be villain lairs, quest giver buildings, or the story plots that inspire the map's environment. Players engaging with the region map should ask themselves, "Hey, what's that?".
2.3.3 - Locations
The last point is also true for locations or anything that will not require a battle map but does influence the overall region map, such things as an ancient druid grove that has a puzzle encounter or a quest location that is set in a cursed swamp should be represented on the regional map.
2.3.4 - Dungeons
When representing Dungeons on the map, the key is to have some difficulties in reaching that area, such as surrounding encounters. However, the dungeon should be one of the middle/ending parts of the quests. In other words, some of the points in the map should naturally lead to dungeons. But dungeons are a vast topic, which we will explore in Part IV, where we will learn how to create and design Dungeon Maps.
2.3.5 - Hubs
Hubs(Villages, Towns, and Cities) are, at this stage, connected to the quests associated with your hub location. The Hubs should also be designed with the rest of the connected quests in mind. We will go deeper into the Hub design in Part III.
2.3.6 - Naming places

Naming almost all the places on the map might not be as pretty as a non-text map, but non-text maps are not as effective in enticing your players during a session with what your world could offer.
2.3.7 - Amounts of Details to show on the map
The question is how much detail you should put on the map. And it depends on you. If you have an overall structure for your story, you can add as many details as possible if you know where your sessions will go as a DM. However, my rule of thumb is to leave more minor encounters, such as goblin ambushes and a random merchant encounter, as an unindicated thing on the map. Hidding some locations is also a good approach if you want to hide some content from your players, such as a secret dungeon. Visited secret locations should be only visually represented after your players engage with them during the Updating Region Map stage (2.5)
And since we mention every necessary point we should include in our region map design, let's see how to create one.
2.4 Tools and Design
There are two equally good paths to take when making a region map. It's either:
2.4.1 Fog of War Approach
If you have little time to Worldbuild or prepare, this will always be an approach I suggest to my fellow DMs, and I will update it as your campaign progresses. This approach also encourages exploration and gives an air of mystique to your party.
2.4.2 Region Border Approach
On the other hand, if you have the will and time to construct almost everything from beginning to end in this region, this might be the better approach if you have a clear flow of your quests and want a more reliable structure for your sandbox campaign.
2.5 Process
2.5.1 Using World Map
First, screenshot the Region directly from your World map. On how to make the world map, read Part I
1. prt sc + Area of the region.
2. Gives pixel measurements.
3. All size for the screenshot.
4. Shows where cursor lands.
Greenshot: Use a Greenshot to quickly get a screenshot that focuses on the region you want to create. Any screen capture would work fine.
Inkarnate: We will create a new region map to place this
When creating a very detailed map - suggest using the highest resolution map.
2.5.2 Using the World Map as a Guide to Creating a Region Map
Now, let's add the screenshot of the region as an Inkarnate stamp and place it on the map.
Center the map
Opacity - Drop the opacity for the stamp and begin adding the landmasses with the mask tool
Add borders - Places that will not be a part of your region don't need as many details since I want to anchor the players to a place. Adding other region details might guide players away from completing the quests.
2.5.3 Add the Hub locations
Now, let's focus on adding hubs that will hold the connections to your quests. Let's focus on one of them, in this case, the Willowbrook example.
2.5.4 Add central Quest locations

Willowbrook is a hub location that connects three main quests: one about orcs, one about bandits and finally a haunted mansion quests.
Central quest locations are dungeons or other places where the climax of your quests will occur.
Adding other quest locations should lead to the central quest location. We can scatter these types of encounters around the central quest location.
2.5.5. Create choke points for story and player progression
Now, we want to Isolate the hub town a bit so that our players wouldn't get out easily from the map without a good reason. An easier option would be mountain or river ranges, but quests should be the main driving force for why your players stay in this location.
Each quest or encounter should have some way of pulling the players back in (Such as an orc ambush near the chokepoints or a reveal of some quest to encourage them to complete them).
2.5.6 Add details to the map
When the main quest flow is known, and the quest structure is completed, I suggest detailing the areas around the map representing the story, adding names to places, etc. During this step, more ideas will arise for your main Hub quests.
2.5.7 Create the region map dungeons/hub map
After finishing up with connecting quests and their encounters for a hub location, then it's time to craft the dungeons and their encounters. But we will be talking more about how to design your dungeons in Part III and Part IV
2.5.8 Continue with the rest of the region

If you have more ideas on the region quests - connect them to other Hubs in your Region map. If ideas start to dry up, it's never too late to obfuscate the map with the Fog of War approach (2.4.1)
2.6 Updating Region Maps
Now, you have a fully functioning region map, which your players will happily explore. But the improvisational nature of D&D always presents ideas that you might not be prepared for or need something else on the map. Leave space in your map for later updating according to your story developments. I also encourage you to leave random, small, improvised, secret encounters of the regional maps because it would work more against you than for you. An overly detailed regional map will hurt your campaign flexibility.

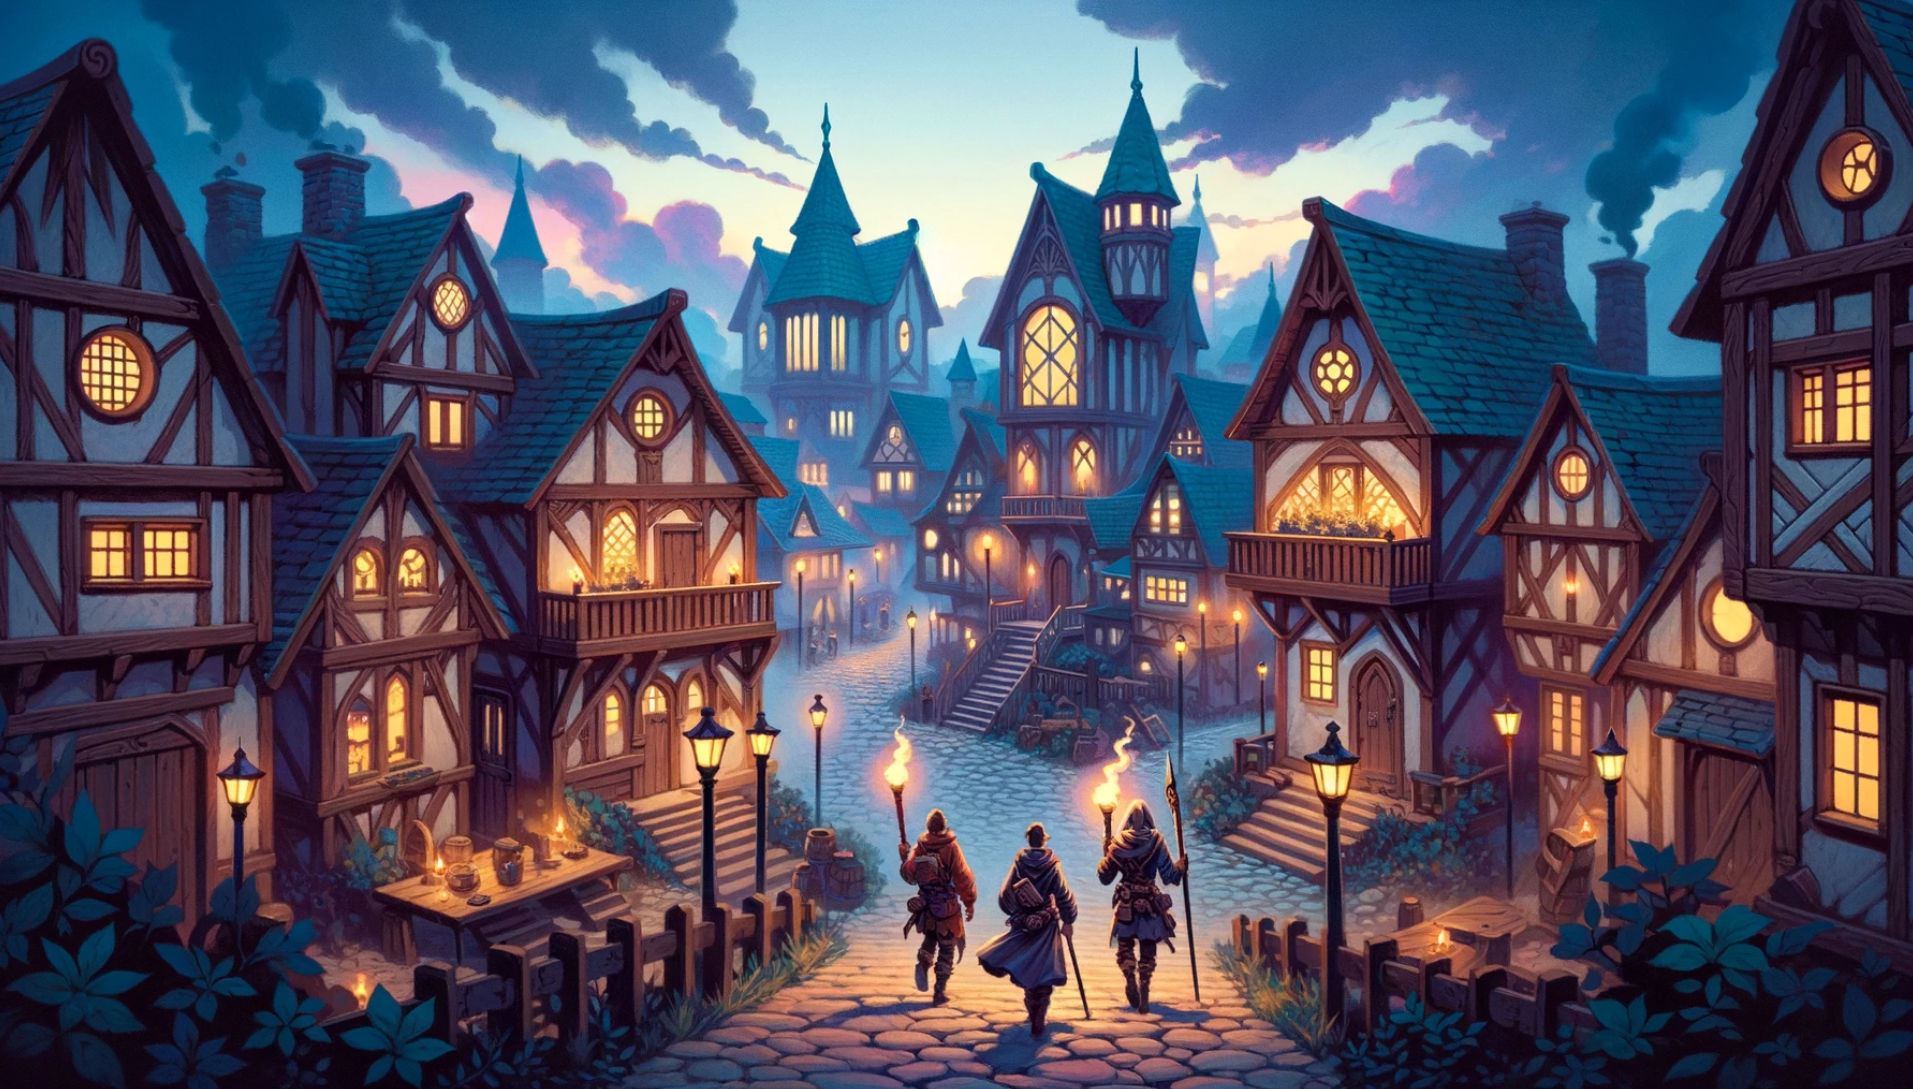
One of the first maps I done that I gave as a handout to my players. Missed on some crucial points on story choke points, but it was heck it was fun...
Congratz! By this point, you should have a Region Map, which you could present as a handout to your players so that they can explore and not stray too much from the stories you create with them.
Another step in enhancing your sandbox campaign is to detail your Hubs & Dungeons through story and maps. While Hubs are the areas for downtime and exchange of rewards, they also host the most important NPCs, which drive players toward the quests and exploration for the region. In Part III - Hub Maps, we will be delving deep into the creation of Hub Maps and Design and how to make them interesting for your players to engage with. We are going next towards the Hubs because its design will help us add more details to the Region Maps and Dungeon Maps we create.
Let's see how we can create and design our Hub Maps and how they influence your Sandbox Campaign and Dungeons.
Read Next:
How to Design Maps for a Sandbox Campaign Part III - Hub Maps
How to Design Maps for a Sandbox Campaign Part I - World Maps